In the final chapter of my story about AppStacks I will explain all the steps needed to update an AppStack. If you have packaging experience you’ll know that with every application update, you are the person who has to create a new package and repeat the same tricks to get it to work. This doesn’t really change with VMware App Volumes. Because AppStacks are read-only, user can’t update their applications with a simple mouse click. So you are still the person who has to update the AppStack.
The nice part about the updating of AppStacks is that you don’t have to create a new package or AppStack, but “simply” select the update function, provision the AppStack and update the application to the new version. In the steps below, I will guide you through the whole process of updating the AppStack I’ve created in the previous chapters, and update Notepad ++ version 6.9 to version 7.1.
How to: Update an AppStack
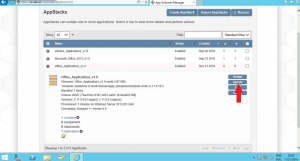
- In de App Volumes Manager, select the AppStack and click Update.
- Adjust the name and description as you like. In this case I’m going to name it Office_applications_v2.0. Click Create to continue.

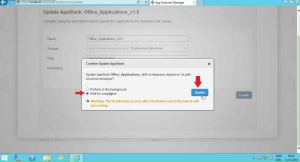
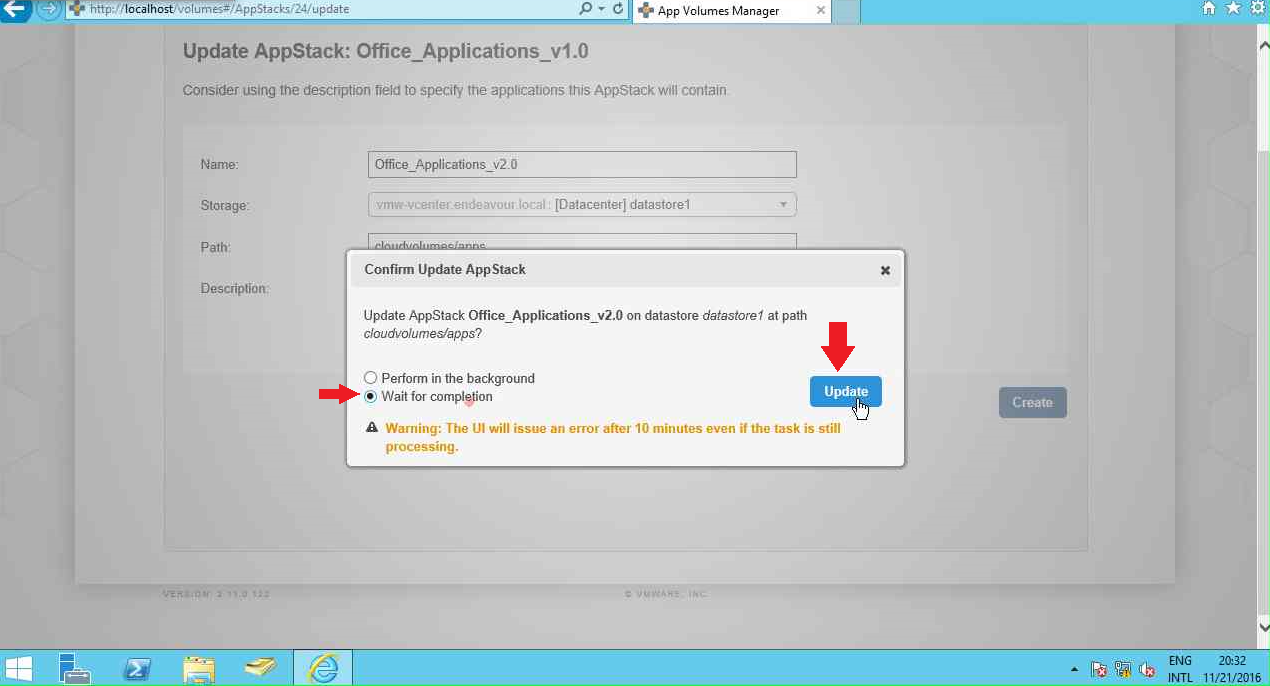
- Select Wait for Completion and click Update.
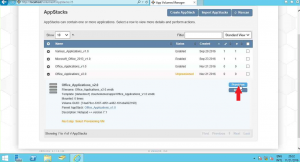
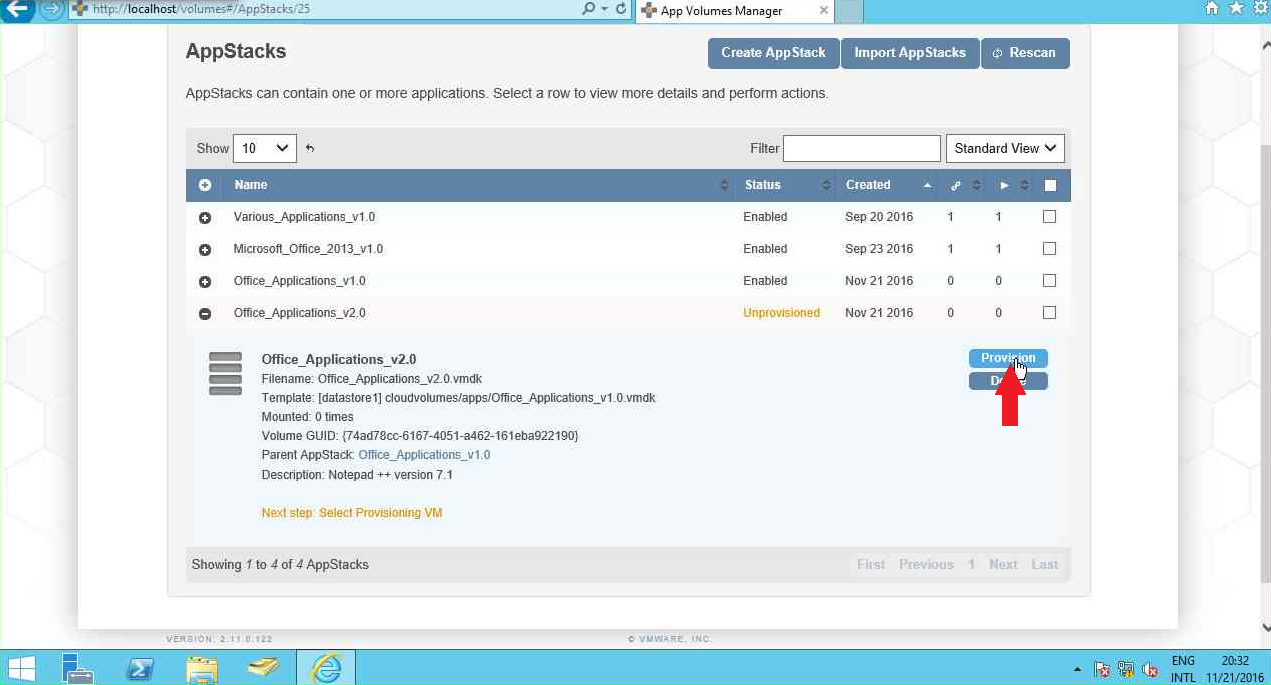
- The new AppStack is created and is ready for provisioning, click Provision.
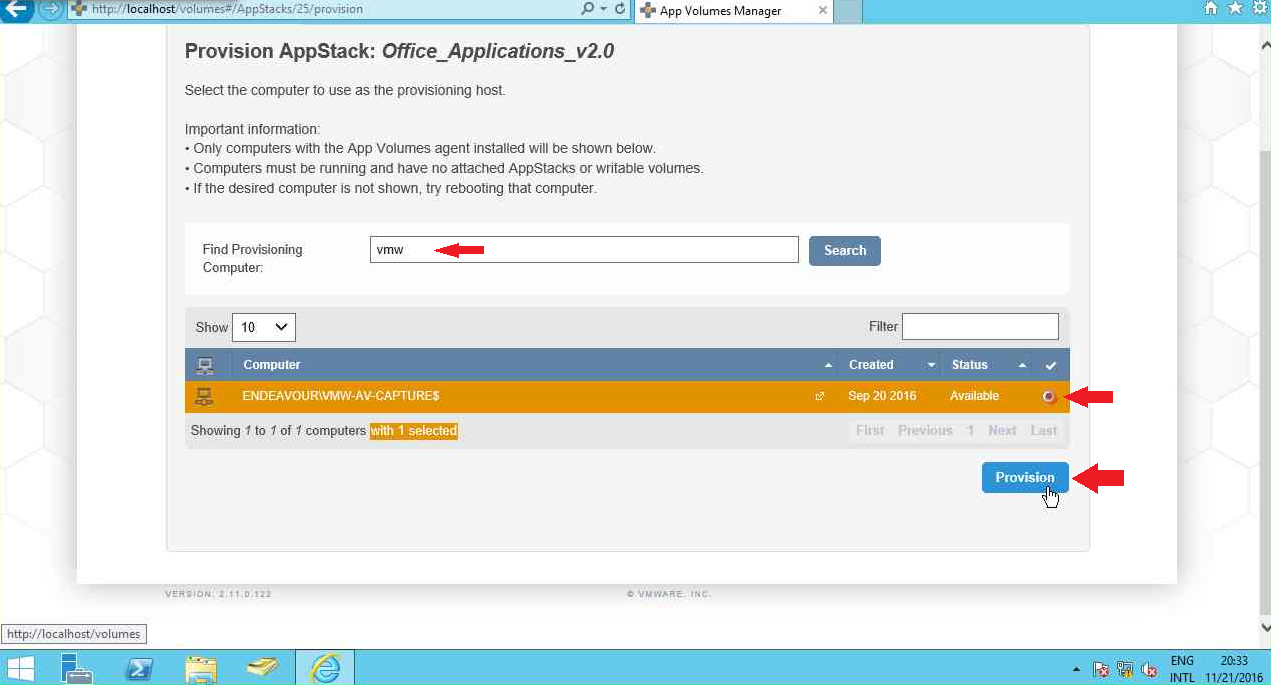
- Select your provisioning machine and click Provision.
(Note: If you didn’t revert the provisioning machine in the previous chapters, do it now.)

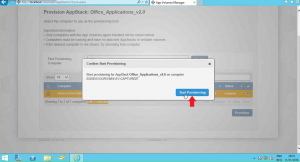
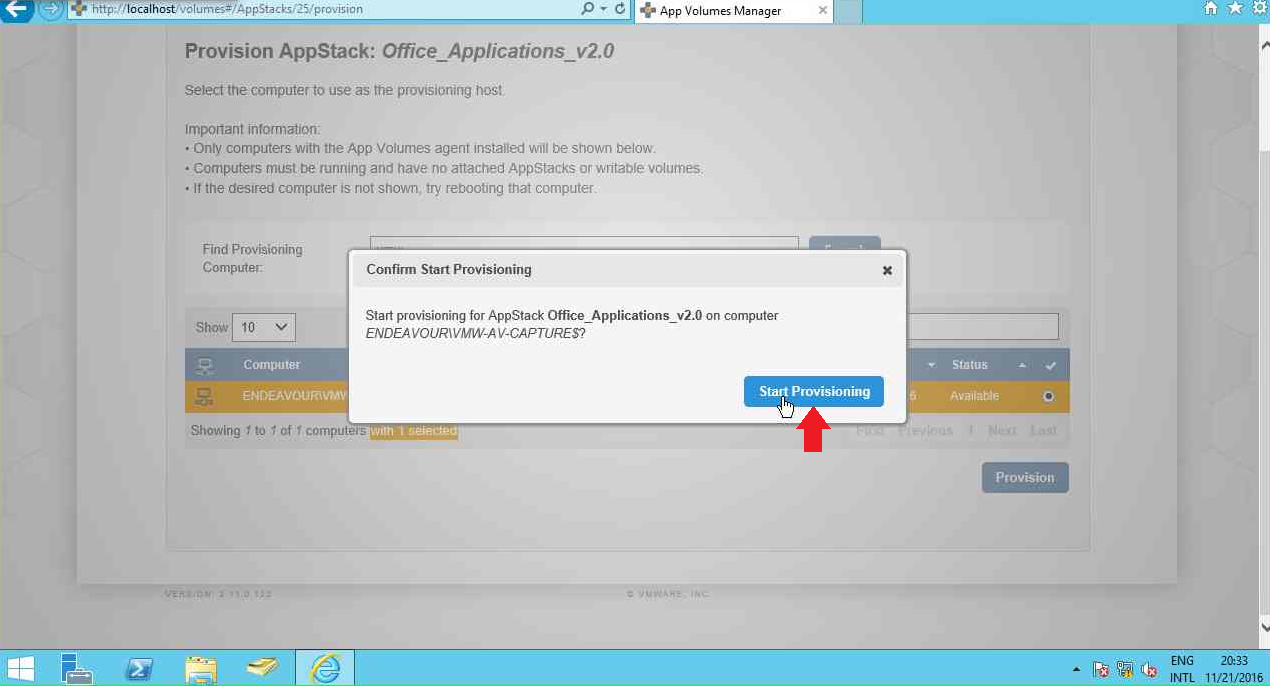
- Click Start Provisioning.
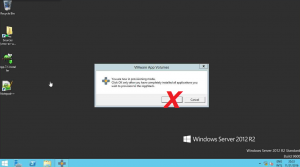
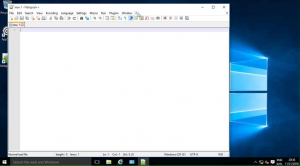
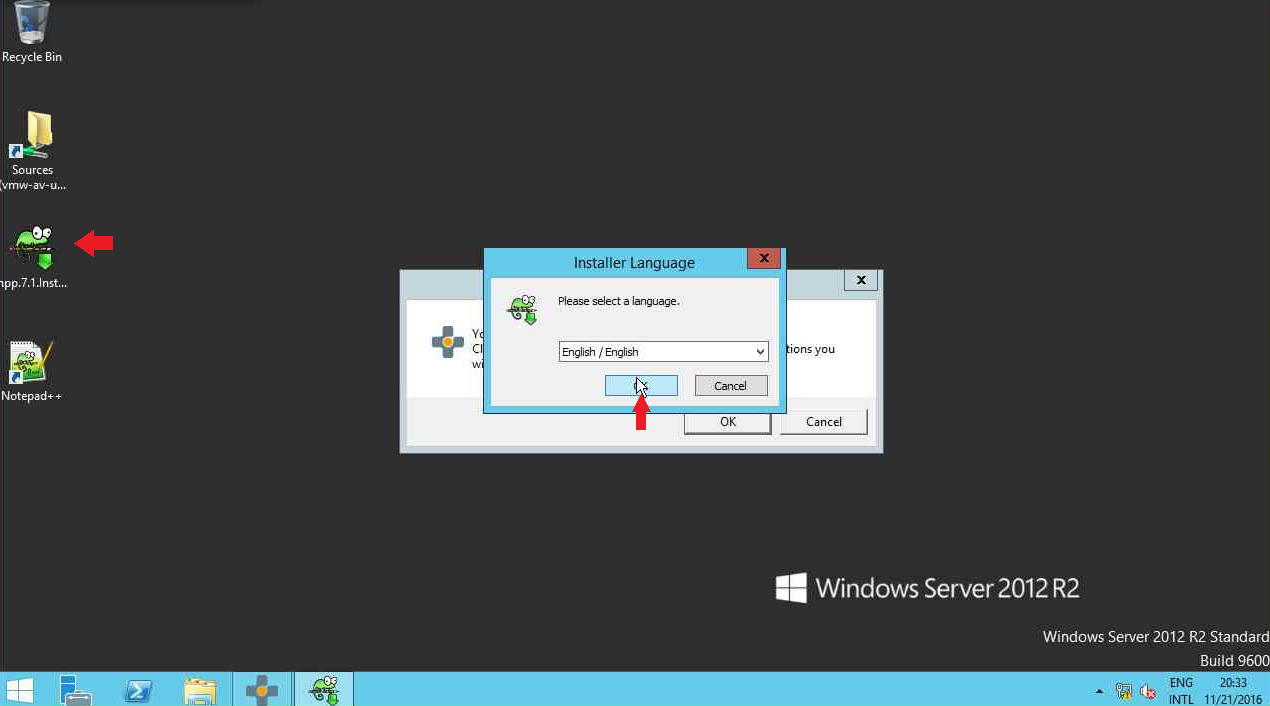
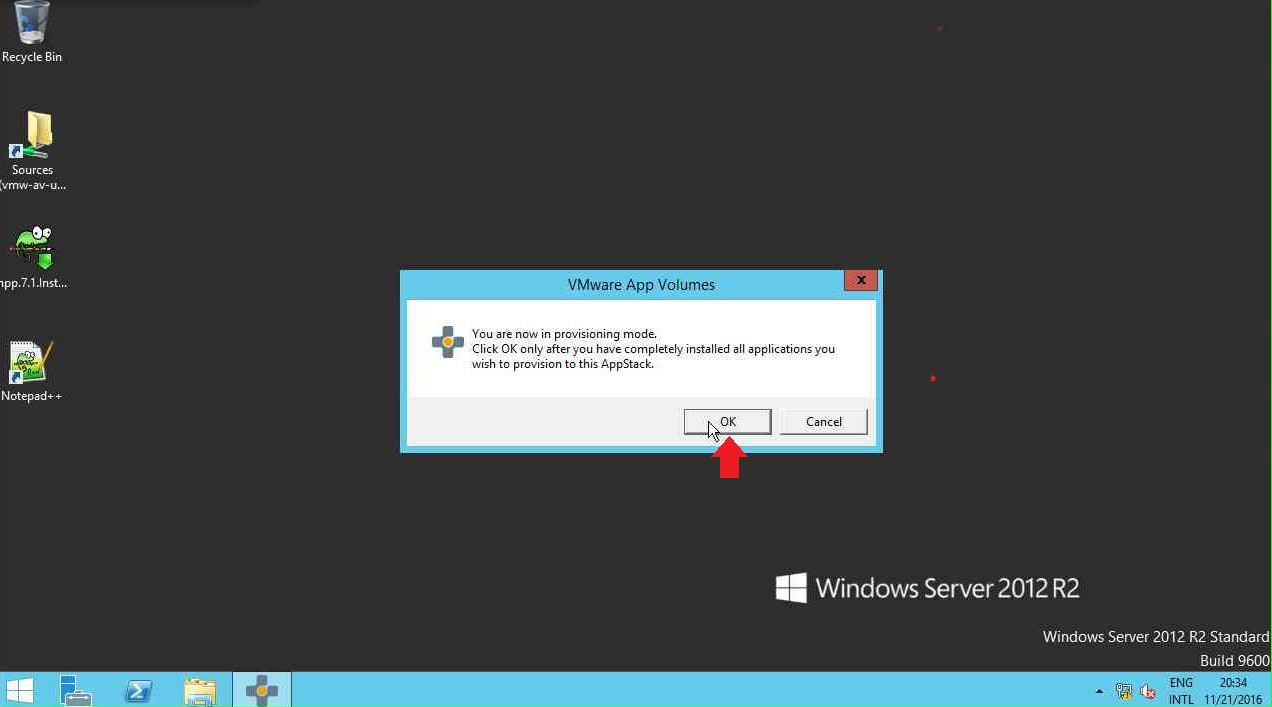
- Switch to your provisioning machine and do NOT click “OK“.
- Open the setup of the new version and follow all steps to update the application.

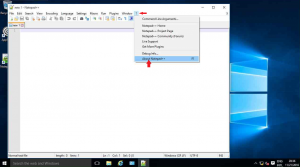
- After the setup is done, start the application and close the change.log as a first run task. Close the application.
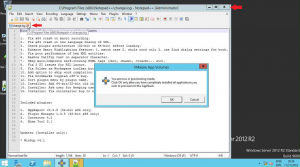
- Click OK.

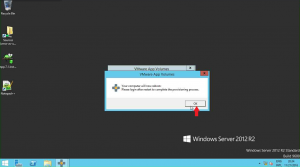
- Click Yes.

- Click OK to reboot the provisioning machine.
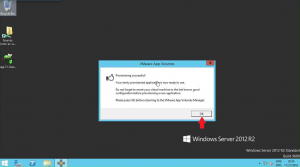
- When the machine is booted you’ll see the Provisioning succesful dialog box, click OK to complete the process.
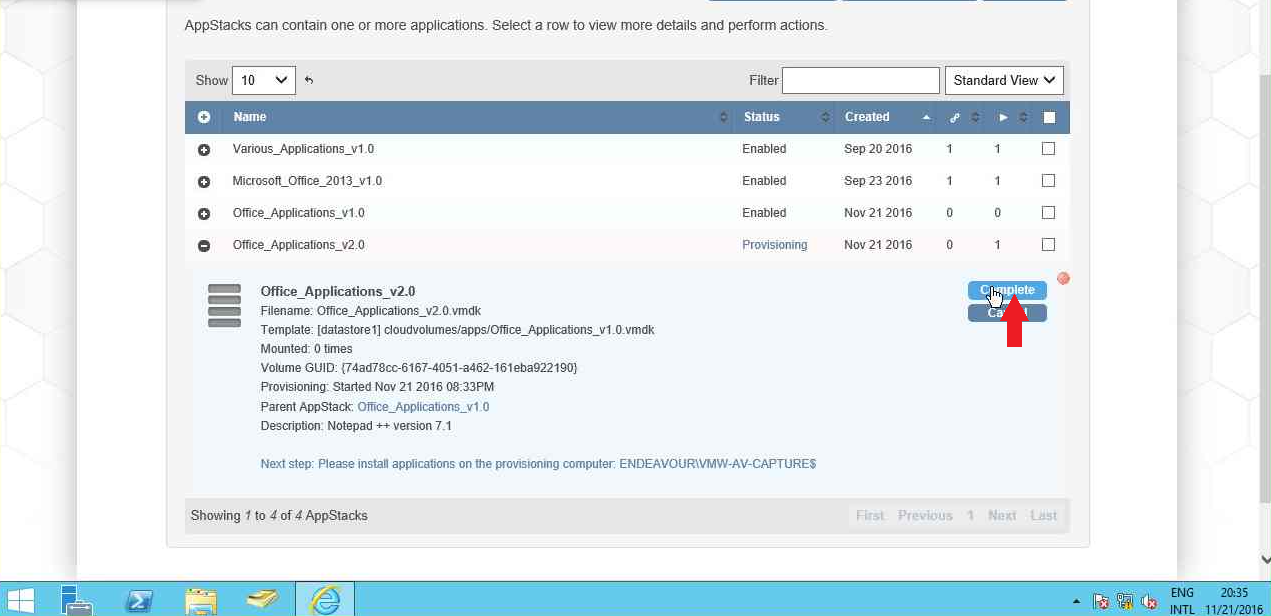
- In de App Volumes Manager, click Complete.

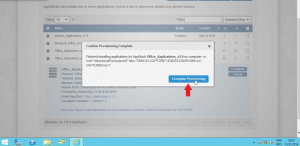
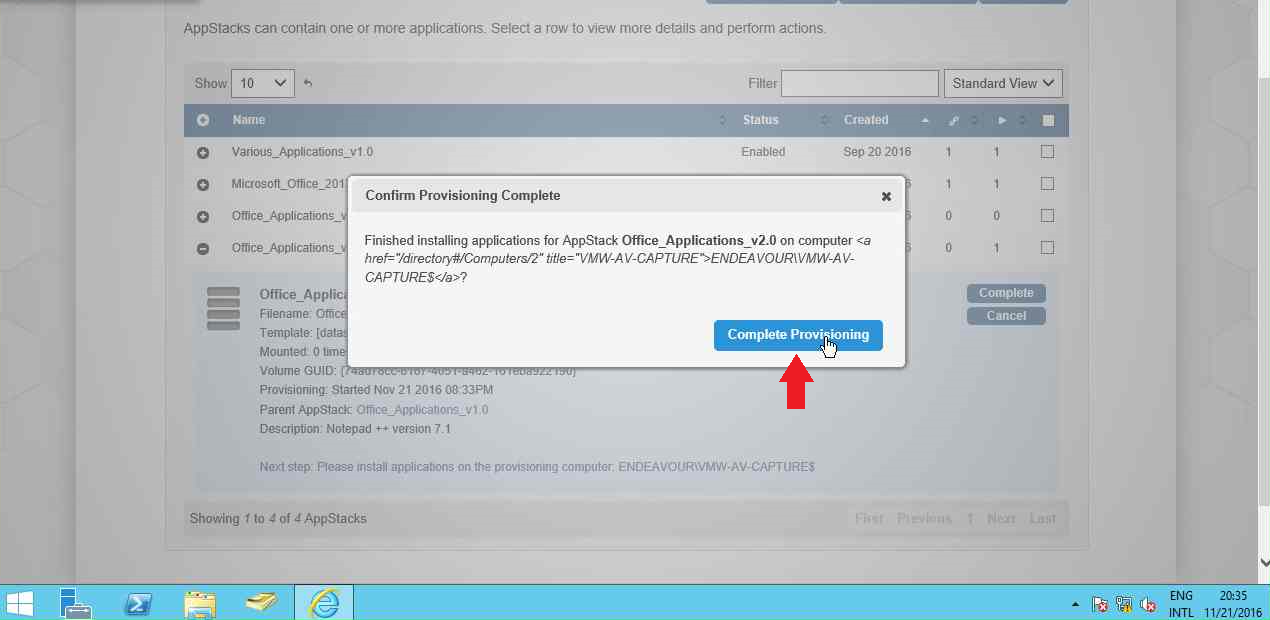
- Click Complete provisioning to finalize the AppStack.
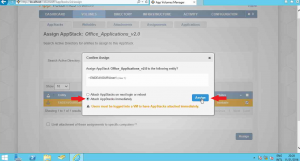
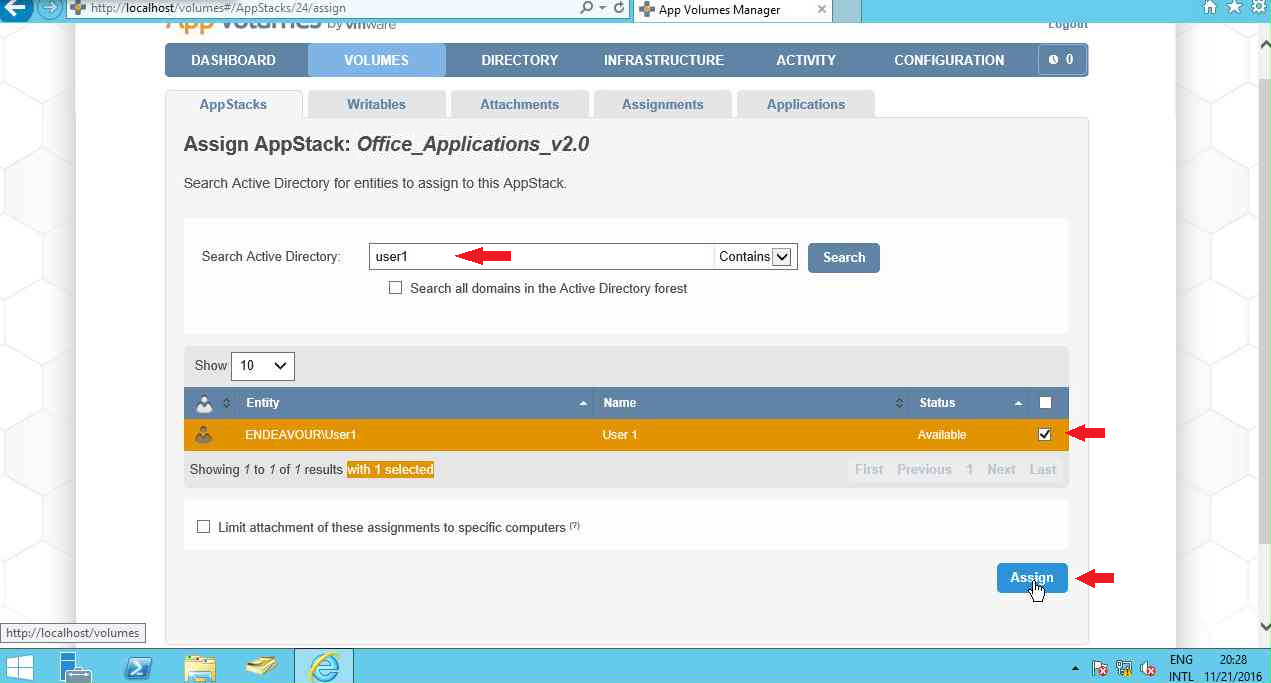
- Click Assign, and select the active directory object you want. In this case I’ve selected my user account named User1.

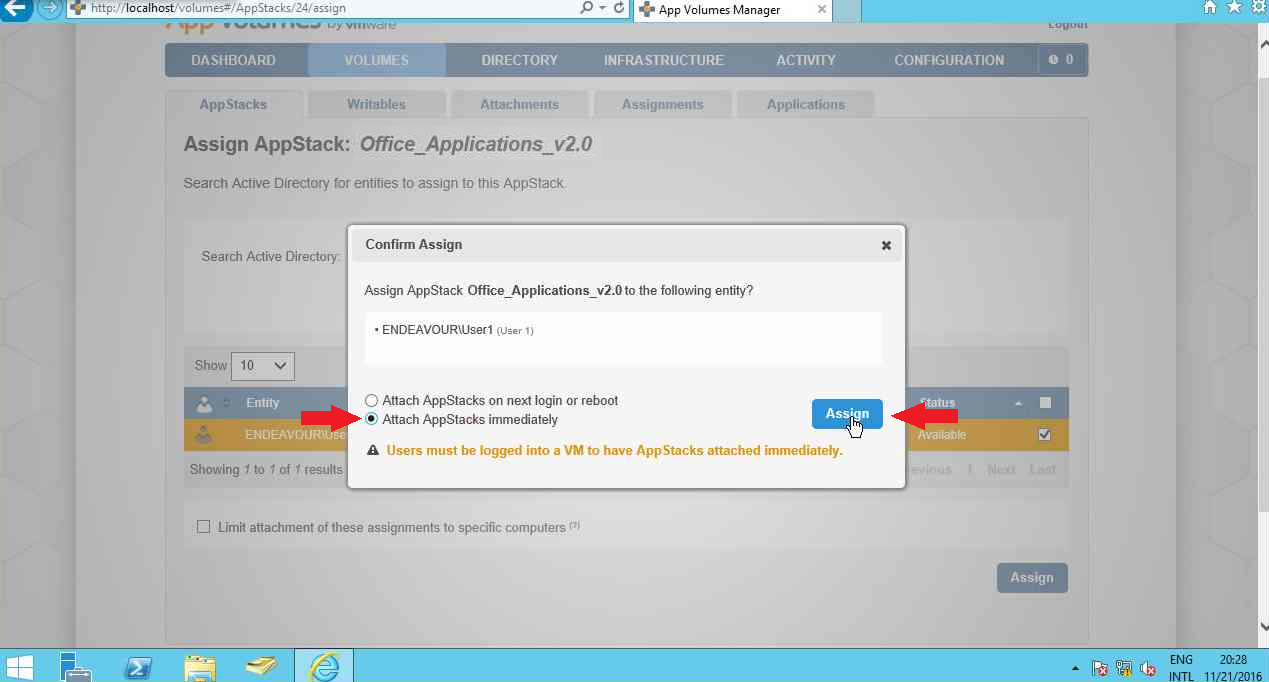
- Select Attach AppStack immediately and click Assign.
- Switch to the client machine and notice that the Notepad ++ icon has returned to the desktop. Start the application.
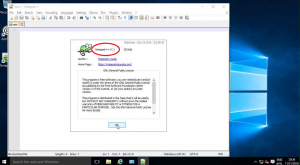
- In the application taskbar, click ? and select About Notepad ++
- As you can see, the AppStack is updated with the new version of Notepad ++


This was the last part of my story about VMware App Volumes and AppStacks. I hope you enjoyed reading this and gained some extra knowledge about VMware App Volumes and AppStacks. If you have any questions or comments, feel free to leave a comment or contact me in any other way.
VMware App Volumes and AppStacks:
– Chapter one: Create an AppStack
– Chapter two: Provision an AppStack
– Chapter three: Capture an application
– Chapter four: Edit an AppStack
– Chapter five: Assign an AppStack
– Chapter six: Unassign an AppStack
– Chapter seven: Update an AppStack


Je moet ingelogd zijn om een reactie te plaatsen.